Product Photography Trends
Every business needs great product photography to help them sell its products. There are many different trends that businesses should be aware of in order to create the best product photography possible. In this article graphicdesigneye.com explains will explore five of the most popular product photography trends and what businesses can do to incorporate them into their workflow.
What is product photography and why is it important?
Product photography is an essential part of any business. Photos of your products can help customers make decisions about whether to buy them, and they can also be a powerful marketing tool.
Product photos should be taken in a manner that accurately portrays the product. You don't want to distort the shape or size of the product, and you should avoid using too much light or darkening shadows to make the product look better.
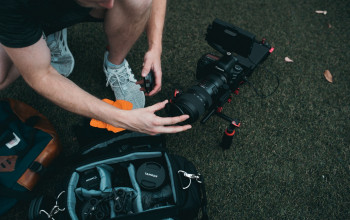
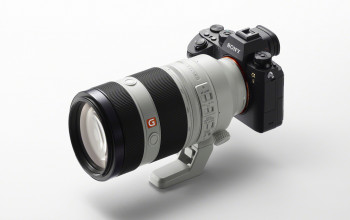
Your photos will also look better if they're taken on good quality equipment. You'll need a good camera, a tripod, and some light modifiers (such as umbrellas or softboxes).
Finally, make sure that you choose a good location for your photos. The background should be plain and free of distractions, and the lighting should be perfect for your subject.
Equipment: What are the key pieces of equipment you will need for product photography?
Product photography is all about capturing the right moment in time when a product is in use. This can be as simple as taking a photo of a product in someone's hand, or as complex as photographing a product in various stages of production.
Lighting: How do you light a product for good photos?
Product photography is all about capturing the right mood and essence of the product for online shoppers. Lighting is incredibly important when taking pictures of products, as it can set a tone or mood for the photograph. There are several ways to light a product for good photos: natural light, artificial light, flash photography, and off-camera lighting.
Natural light is the most common way to light products for photographs. This involves using windows or skylights to let in sunlight or light from an artificial source such as a lamp. Some photographers prefer to use incandescent bulbs rather than fluorescent bulbs because they give a warmer hue to the photos. To get the perfect lighting conditions, experiment with different angles and distances from the object being photographed.
Artificial lights can be used to great effect in product photography as well.
Positioning: Where should you position your product in order to get the best shots?
When it comes to product photography, positioning is key. You want to find a spot where your product is the focus and can be easily seen. This means getting as close to the product as possible without compromising the image quality.
One-way to position your product is to use a tripod. Using a tripod will help you get sharper images and minimize movement. If you don't have access to a tripod, you can try using a monopod or handheld camera.
If you're using a hand-held camera, be sure to keep your shooting in mind. Tyro shoot from an angle that prompts the viewer to view the product from above or below. Another thing to keep in mind when shooting with a handheld camera is framing: make sure everything in the shot lines up with the dimensions of the product.
Backgrounds and Filters: What are some ways to add backgrounds or filters to your photos?
Backgrounds and filters can add a lot of impact to your product photos. Here are some tips on how to best use them:
-
Use natural backgrounds if possible. If you want to add a filter, try using something like a blue sky or foliage instead of using a stand-in image. This will give your photo more of an organic feel.
-
Try adding textures or patterns to your background. This can help to lower the overall photography noise and give your photos a more polished look.
-
Choose filters that match the products you're photographing. For example, if you're photographing clothes, use filters that will accentuate fabric texture or color.
-
If you have access to studio lighting, use it! A well-lit product photo can really help sell the item on online retailer websites and in-store displays.
Composition and Editing: How do you compose great photos of products?
Product photography is an important aspect of a product's success. It can help people visualize the product and make purchasing decisions. There are a few key things to consider when composing great photos of products: composition, editing, and lighting.
When composing a photo, keep in mind the context of the photo and its intended use. For example, a photo of a phone should be composed so that it emphasizes the device's display and keyboard. Photos of clothes or accessories should be proportionate and balanced so that they look good on all body types.
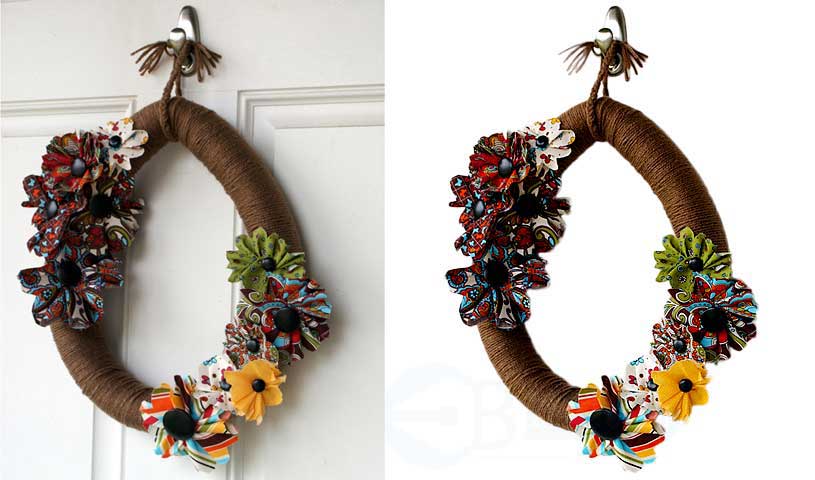
Editing is also important when composing product photos. For example, if there's an object in the background that you want to remove, use blur or crop features to remove it without affecting the overall composition of the photo. Additionally, adjust saturation, contrast, brightness, and other settings to create the desired effect for your photo.
What are the benefits?
Product photography has become an essential part of any business's marketing plan. Not only does it help sell products, but good product photography can also create a lasting impression on customers. Here are some key benefits of using product photography:
Increased Sales - Product photography can help increase sales by creating a more attractive and appealing image of the product. This can attract new customers and increase demand for the product.
Better Branding - Good quality product photography can help improve branding, as it can show off the quality and features of the product in an effective way. This can make customers more likely to buy from a company that uses high-quality images in its marketing campaigns.
Improved Customer Retention - Product photographers who have a good eye for detail and creative ideas often retain customers better than those who do not use product photography at all.
Types of product photography: Still, motion, 3D, and 360
Product photography is a way to show off your products and engage with potential customers. There are a few different types of product photography, each with its own benefits. Still, product photography captures the product in its natural state without any motion or 3D effects. Motion product photography incorporates motion into the image to show off the product in action. 3D product photography takes advantage of 3D technology to give viewers a more realistic perspective of the product. 360-degree product photography gives viewers a complete view of the product from every angle. Whether you're just starting out or you have experience shooting products, there's a type of product photography that will work best for you.
Preparation before shooting: What to do before taking photos of products
Preparation before shooting can make a huge difference when it comes to product photography. Here are 5 tips to help you get the best shots:
-
Make sure your product is clean and free of dust and debris. This will improve the clarity of your photos and make them look more professional.
-
Shoot in natural light as often as possible, rather than using artificial lighting. This will give your photos a more realistic appearance.
-
Use props to add interest and dimension to your shots. This can be anything from plants to boxes or even people!
-
Take photos from different angles and distances to create a more varied portfolio.
-
Shoot in RAW format for maximum flexibility and editing potential later on (if desired).
Post-processing product photos: What to do after shooting photos of products
Product photography can be a great way to show off your product and entice potential buyers. However, shooting photos of products can be time-consuming and tedious. Here are 3 tips for post-processing product photos:
-
Use natural light whenever possible. This will help to capture the true color and tone of the product.
-
Clean up any imperfections in the photo using editing software. This will make the photo look more polished and professional.
-
Use background props to add interest and dimension to the photo. This will help to set the scene for your product shots and make them more visually appealing.

